Loading Levels and Basic Movement
First, change your window to be 448x512 in size.
Next, create a plane old Actor in LoadData that’s centered in the window, has a SpriteComponent, and uses the "Assets/Background.png" texture. Set the draw order of the sprite component to a negative value, so it’s behind
You should see the window and a background: 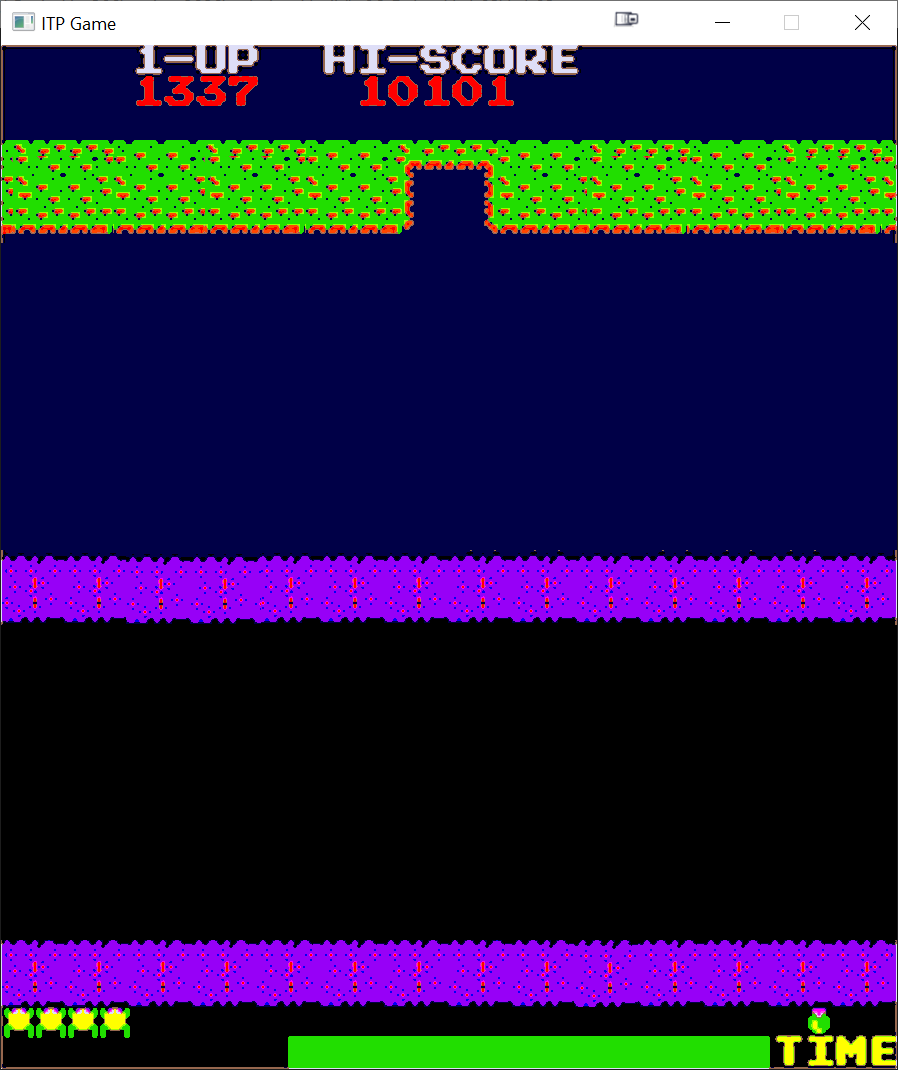
For this game, we’re using a text-based level file format. Here’s what the provided Assets/Level.txt file looks like:
......G......
...W.....Y...
.X...X....X..
......Z......
X...X...X....
....Y......Y.
.............
T....T....T..
..D.D...D.D..
.C..C..C..C..
B.....B.....B
...A.....A...
......F......
Each character represents a 32x32 square in a grid. The square in the top left corner is centered at (32, 80). A . means there’s nothing at that square. A, B, C, D, and T are vehicles, with A-D being four different types of cars and T being a truck. W, X, Y, and Z correspond to the logs floating in the river. F is the starting position of the frog and G is the goal.
You’ll need to make three Actor subclasses: Vehicle, Log, and Frog. Right now the only components they need are SpriteComponents.
Setting the Textures
Frog’s sprite component will always use "Assets/Frog.png"
For Vehicle, which texture you’ll use will depend on the letter:
A–"Assets/CarA.png"B–"Assets/CarB.png"C–"Assets/CarC.png"D–"Assets/CarD.png"T–"Assets/Truck.png"
For Log, the texture also depends on the letter:
W–"Assets/LogW.png"X–"Assets/LogX.png"Y–"Assets/LogY.png"Z–"Assets/LogZ.png"
For clean code, you should make a SetType function in Vehicle/Log that takes in the letter and sets the sprite component to the correct texture.
Loading the File
Write a function in Game that loads in the text file and creates the correct actors with the correct textures. Ignore the G letter for now (treat it like a . or nothing at that square). You can use normal C++ file reading to read in the file (eg. std::ifstream to open the file and std::getline to read a line). For each square, if there’s an actor at that square, you’ll need to create it and set it to the correct position.
Once you have this function, call it at the end of LoadData.
Once your actors are setup and you’re correctly creating them with the correct textures, your game will look like this: 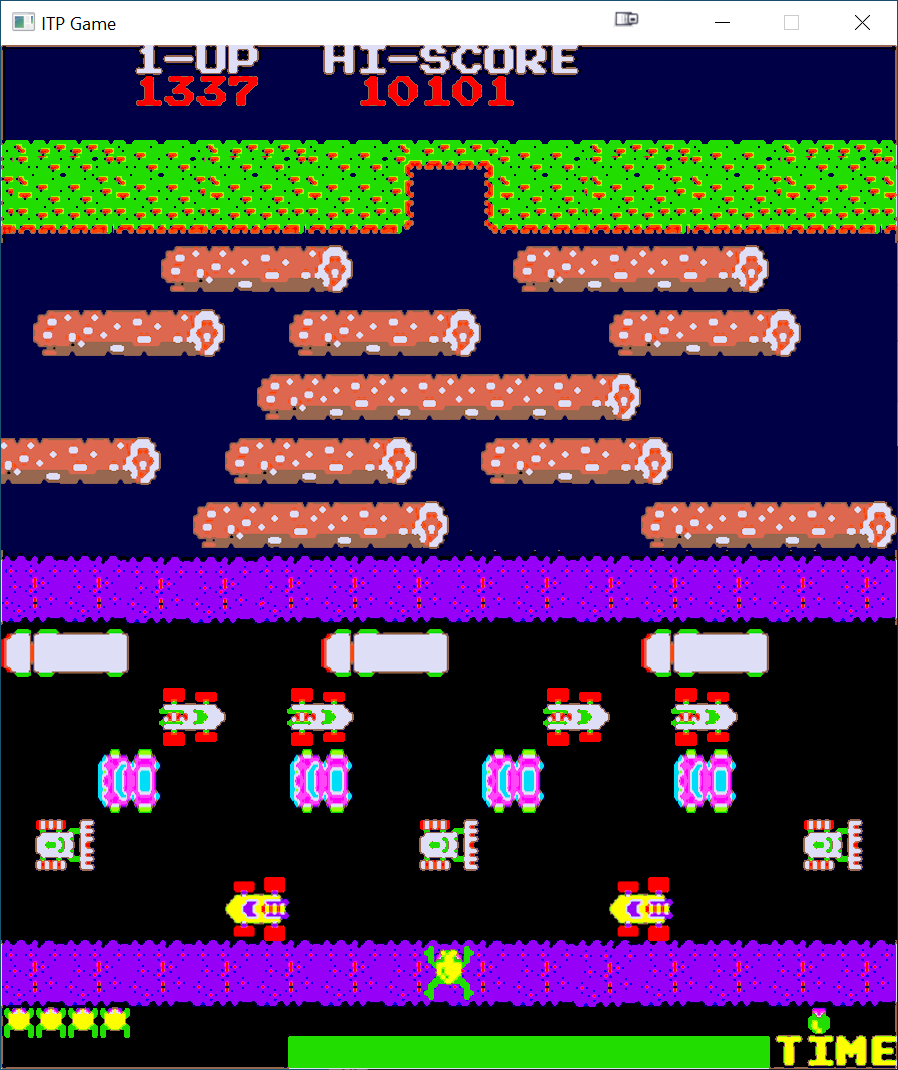
Rotating Actors
If you look closely, you’ll notice that all the vehicles are pointing to the right and some of the logs don’t look quite right.
We want some of the rows to actually face Pi radians (or 180 degrees) from the default facing.
Add code to your file loading so that the logs/vehicles in odd rows are rotated Math::Pi.
You should now see some of the rows rotated, and it’ll look like this: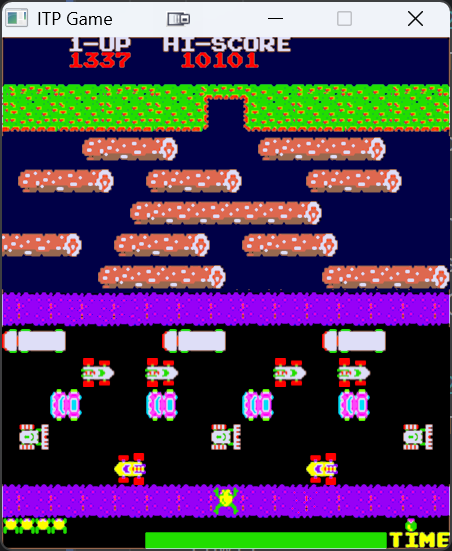
Frog Movement
Since the Frog hops are instant and not a continuous motion, Frog doesn’t need a MoveComponent. Instead, we can just detect the leading edge and calculate the new position in an override of HandleInput. You want to detect the leading edges of each of the four WASD keys: W for up, S for down, A for left, and D for right. On a leading edge, you want to move the Frog 32 units in the corresponding direction.
To save the “last frame” values, rather than using four separate bools, you should use a map where the key is an SDL_Scancode and the value is a bool.
You should also make it so the Frog can’t hop off-screen by restricting the min/max x and y values of its position. You can use the Math::Clamp to help do this.
Since Math::Clamp is a template function, all arguments need to be the same type and it will return a value of that type. In this case, you want the type to be float, because the x/y components of the Vector2 are floats.
You should now hop in the four directions based on the WASD keys. Keep in mind that holding down a key should only hop once, on the initial leading edge! Also verify that you can’t hop off-screen.
Vehicle and Log Movement
Vehicle and Log both need a MoveComponent to move and a WrapComponent to wrap around the screen.
Vehicles should have a forward speed of 50.0f and Logs a forward speed of 37.5f.
If you used the Game::WINDOW_WIDTH and such constants when you created WrapComponent in Lab 2, you shouldn’t need to change the code. Otherwise, you may need to fix the code in HandleUpdate.
Your logs and vehicles move to the left and right and wrap around screen, like this:
Once you’e pushed this code, you’re ready to move on to part 2.